Arduino Library:
Right out of the box, Arduino supported lots of off-the-shelf hardware.
But it cannot cover everything under the Sun .
Now you have a choice. Either we will spend our night reading through all the datasheets to figure out how to use each component we add to our robot. Or choose the easier way out (& play the game right) by not reinventing the wheel & leveraging off the wonderful work done by some Arduino Guru online.
We will be installing some additional OpenSource Arduino Libraries to help us control some of the peripherals we have on the robotic mainBoard.
In this chapter, we are going to install 2 additional libraries to your Arduino:
- i2c SSD1315 OLED Graphics display library.
- Neopixel/ws2812b Chainable RGB LEDs.
Installing the additional Libraries:
- In your Arduino IDE window, under the Sketch menu
- Select Include Library.
- Choose the Manage Libraries menu option.
- Enter Adafruit Neopixel into the search bar.
- Click on Install.
![]()
Could you do the same for the i2C OLED screen library?
- (hint): SSD1306Ascii
Jumper pins:
The pins for the Neopixels are not hardwired on the Robotic Mainboard. Instead, it needs to be connected using a jumper wire (Dupont female to female). Therefore, during class, please use pin IO5 for the Neopixels.
NeoPixel_In <-> IO5![]()

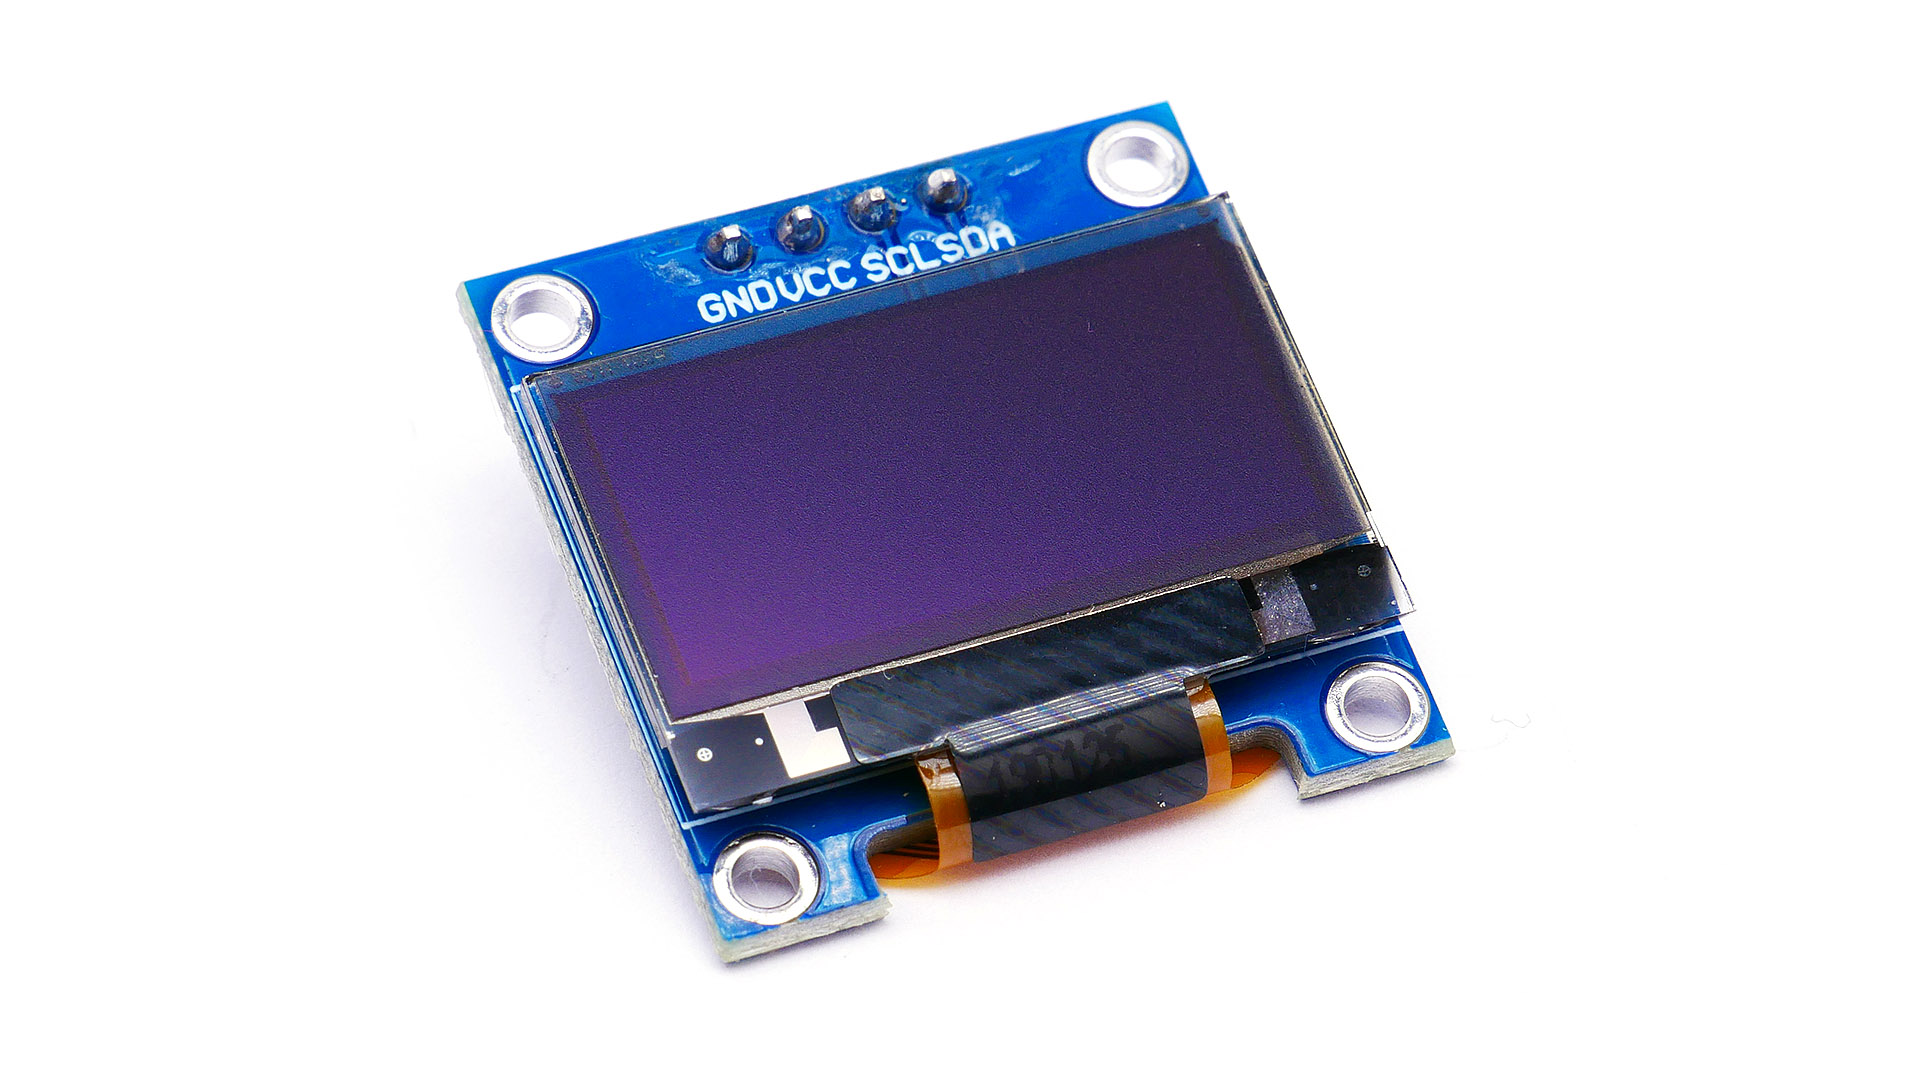
I2C graphical OLED Display module :
This 0.96" display is perfect for small projects, wearables, and other portables. When used on your robot project, it can easily convey information via the crispy wide screen white text/graphics with a 160-degree viewing angle range. And the cherry on top is its low 0.06W power consumption making it perfect to be run off the battery source.
Specification:
Display Driver IC: SSD1315 (Datasheet)
Resolution: 128x64
Display Size: 0.96 inch