Freeing Teachable Machine from the confine of your browser:
In this chapter, we are going use the trained model exported from Teachable Machine to control our C3 CoreModule via the WebSocket server.
- Load the ESP32-C3 firmware from Chapter 3. We will be using the WebSocket server to control the LED on the CoreModule.
Add in additional payload comparison under
case WStype_TEXT:
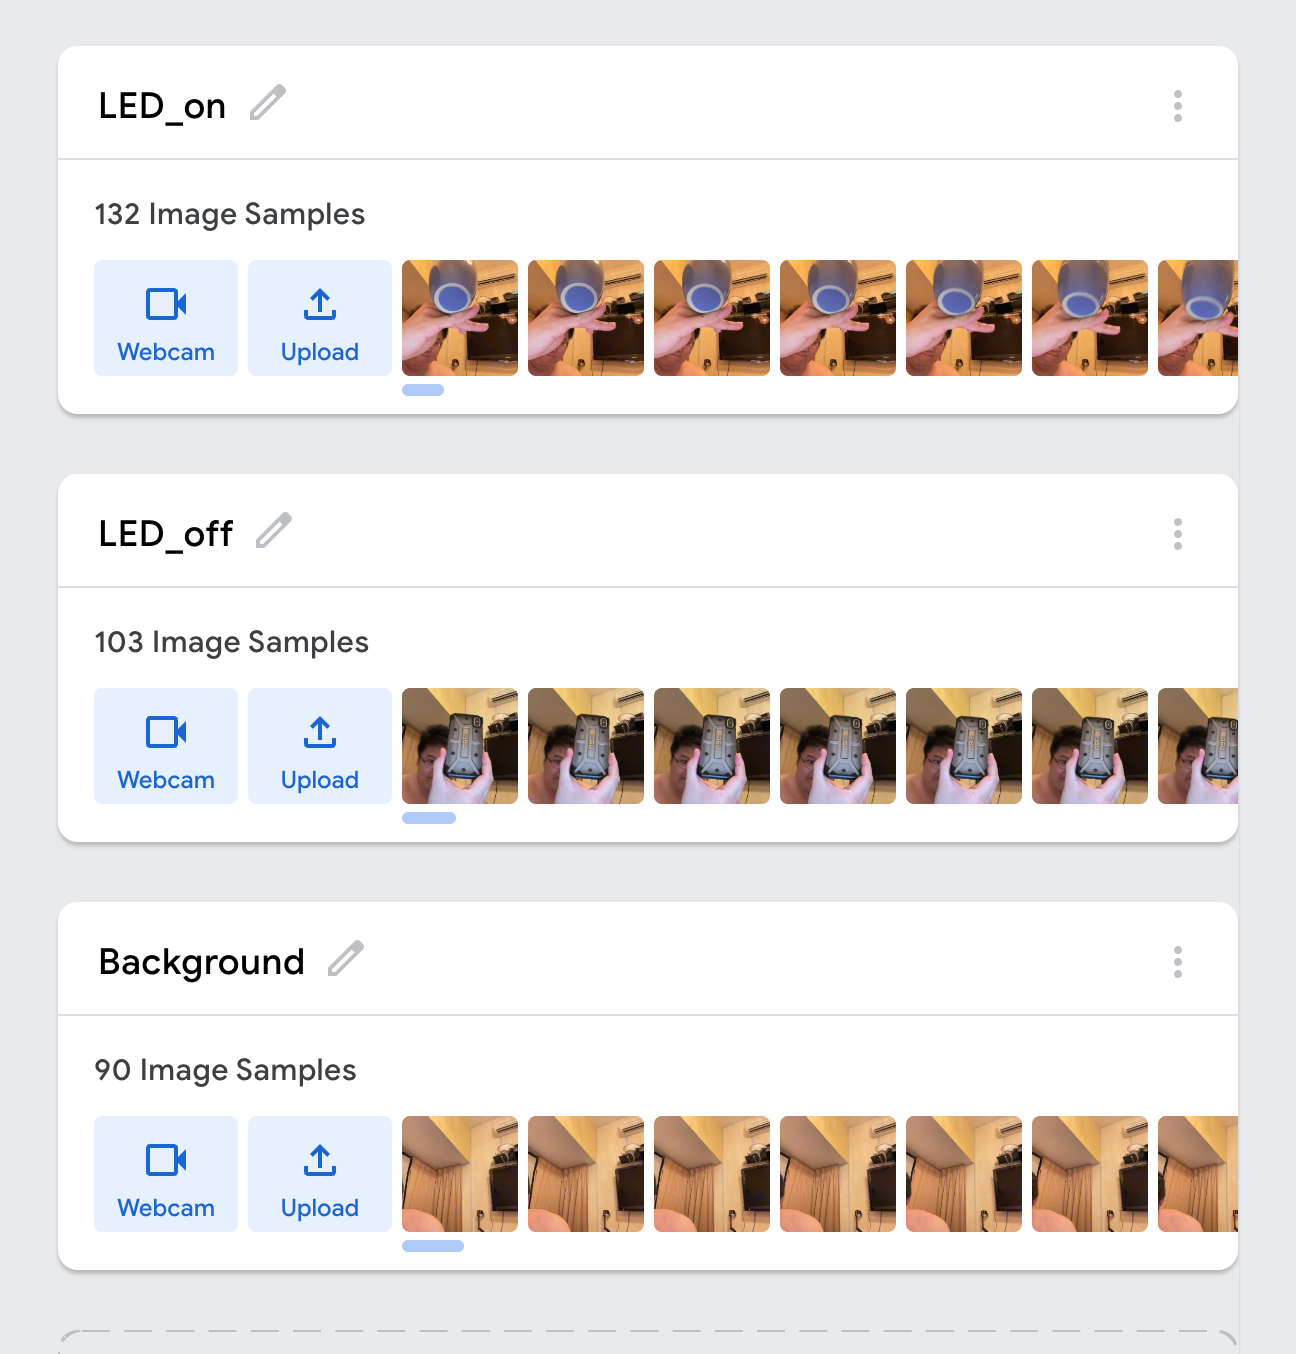
The example code only does matching for "toggle". We could add in for instance "LED_on" & "LED_off". - Create a new TeachableMachine "Image project" with the recognition class names "LED_on" & "LED_off" (or you can reuse your Test Project from the previous chapter, make sure you rename your classes name accordingly).
For this example to work properly, we need to add an additional recognition class name "background", as a control (to detect when there is no object in front of the camera). - Create a new p5.js sketch which incorporate both WebSocket & ml5.js to gain the ability to access the pre-trained Tensorflow models generated by TeachableMachine.
Additionally you will need to add in an extra line of Code in the index.html within your p5.js project to include the javascript library for parsing the tensorflow.js trained model.
<script type="text/javascript" src="https://unpkg.com/ml5@0.6.1/dist/ml5.min.js"></script>

