Chapter 6 - Introduction to Google Teachable machine - Machine learning

What is Google Teachable Machine?

Google Teachable Machine  : Teachable Machine

Google Teachable machine is a web-based A.I. tool developed by Google back in 2017 (& is still regularly being updated to this day). It is an experiment by Google to bring a no-code and low-code approach to training A.I. models. 
As a result, anyone with a webcam or microphone and a modern browser can quickly train a model with no prior knowledge or experience with A.I.

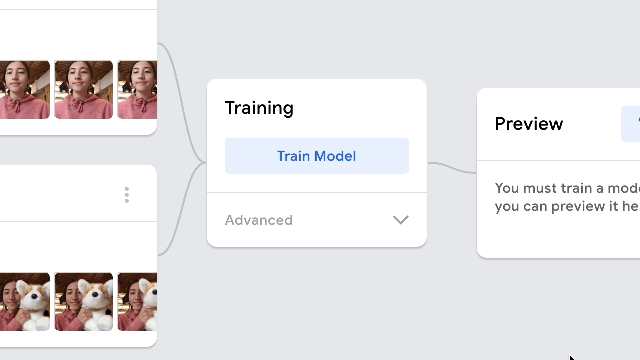
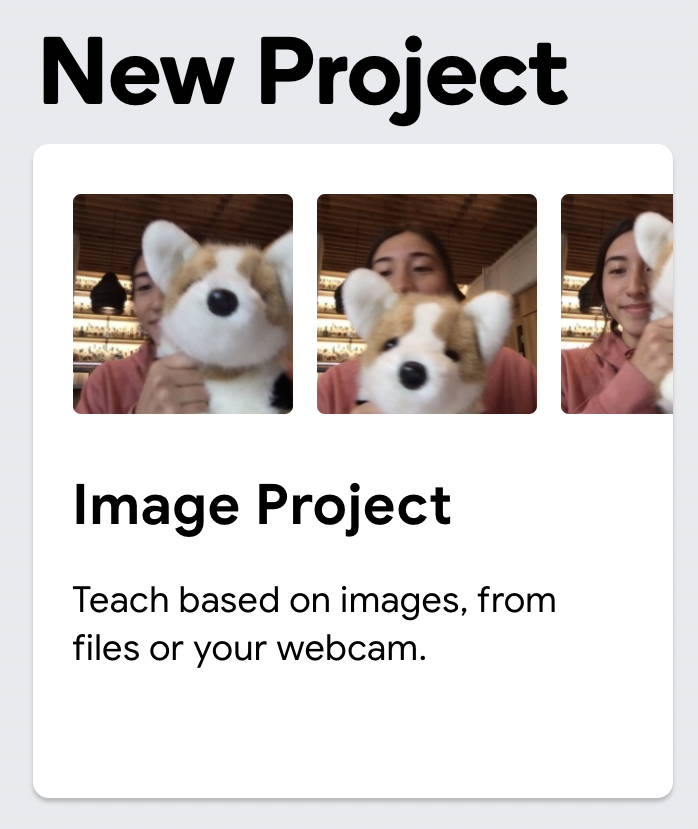
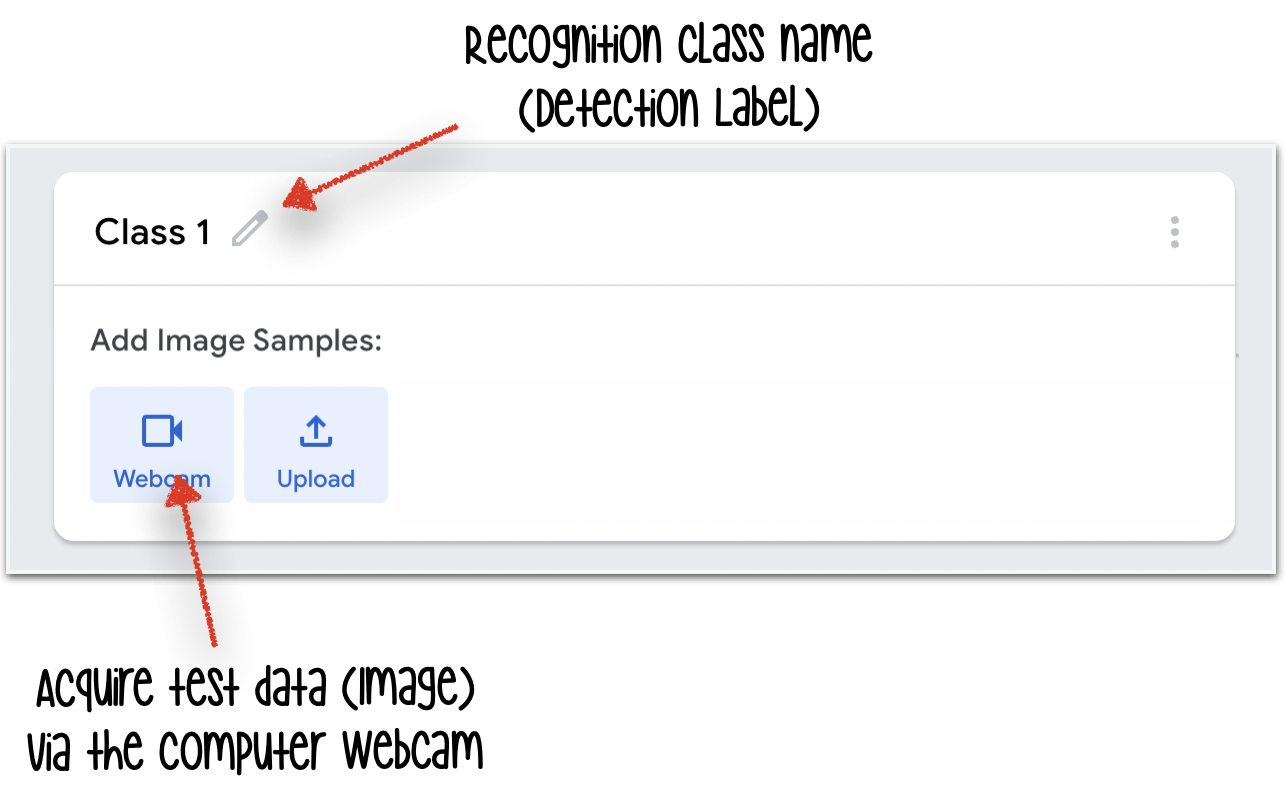
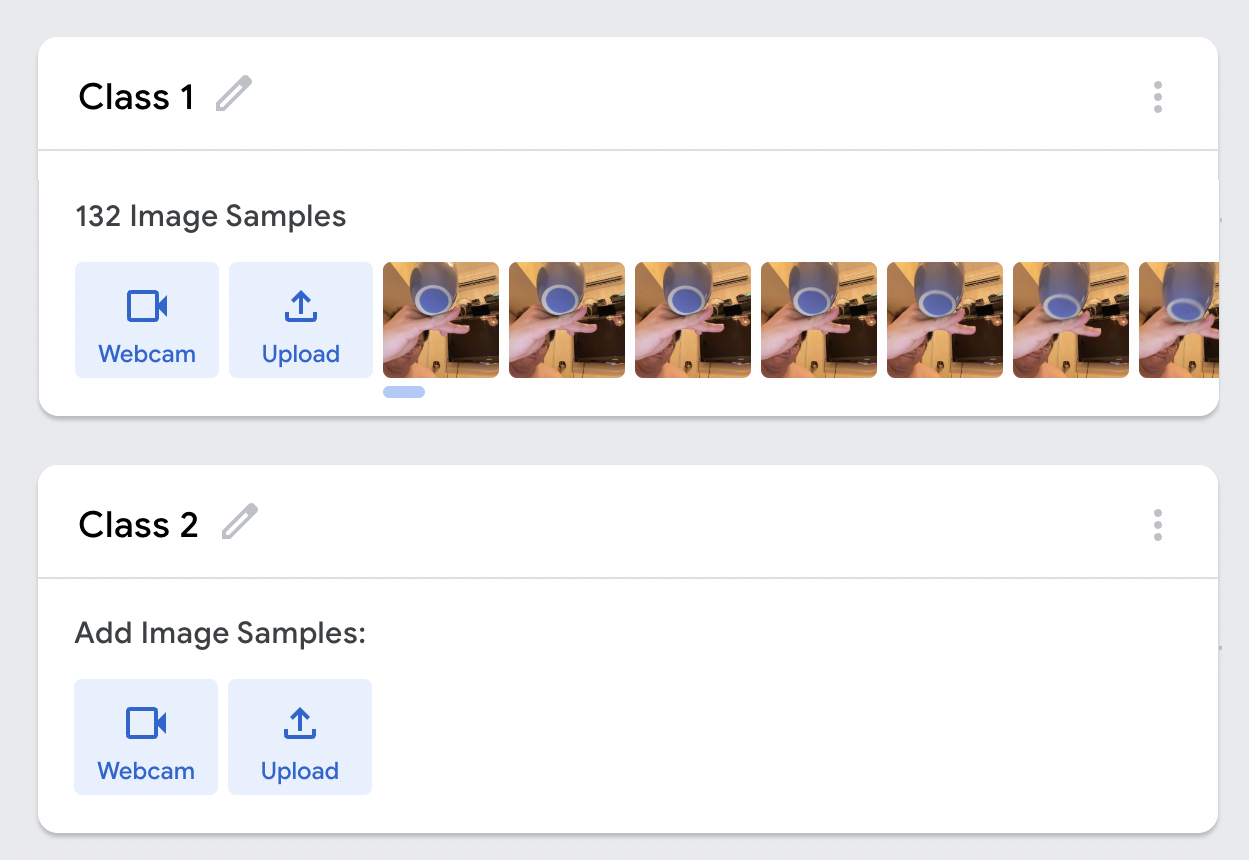
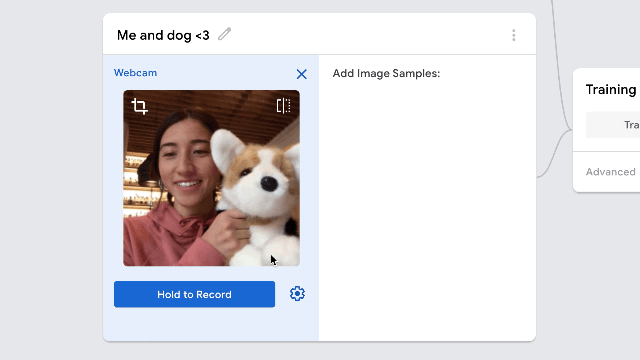
As of this writing, Teachable Machine supports generating models based on images, sounds, and body poses (& hand gestures too). You can easily create training datasets using a webcam to capture new images or a microphone to record up to 10s of audio data.
(You can also import all necessary training data from existing sources as files.)

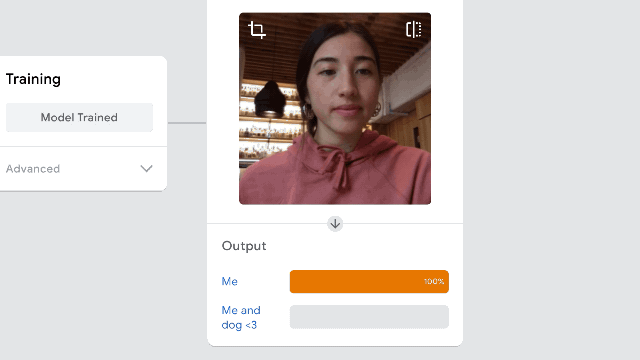
Teachable Machine engine leverage on headless MobileNet model ( Blog announcement)and relies on a popular deep learning technique known as transfer learning to create a new training model within the browser environment quickly & efficiently. 

Many (A.I. experts) might scoff at the decision of using Teachable machine for A.I. in our robotic project. But IMHO, I find it to be a fantastic platform to experience ML & A.I.  & it also put to the test one's creativity at using resources at hand to accomplish an advance project .
Furthermore, even education researcher Blakeley H. Payne from MIT has been using Teachable Machine as part of an open-source curriculum that teaches A.I. through a hands-on learning experience.

 Read more about it here:  Have you taught your machine yet?

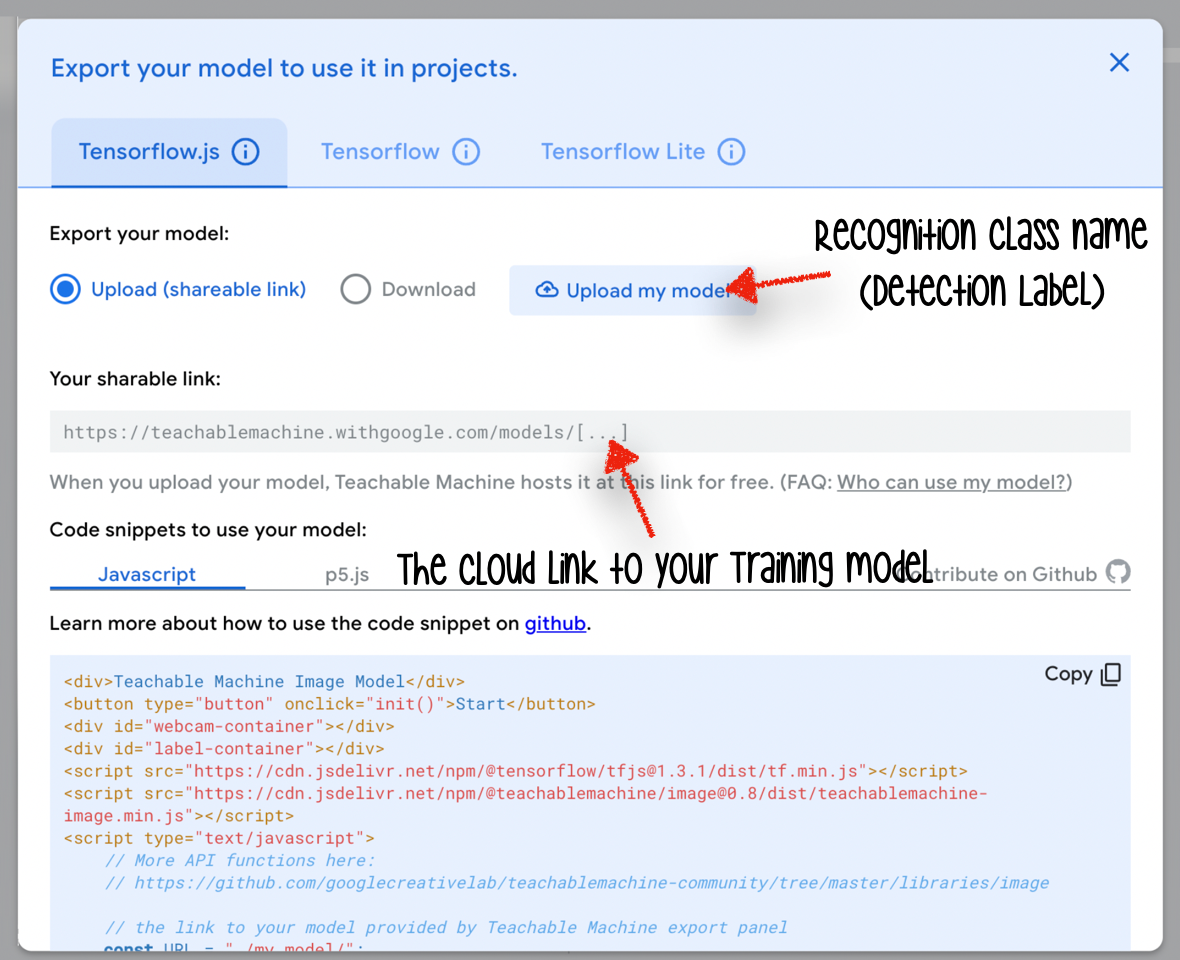
Exporting your data:

The best part of Teachable Machine is its ability to export the model you created to various other environments and applications. For example, you can easily export the model as a TensorFlow.js model and use it across multiple web applications/technology (This is exactly what we are doing today).

Alternatively, you can also convert the model to a TensorFlow and TensorFlow Lite compatible model. This training model file makes it possible to create an offline mobile application with the same capability as what you experience on the Teachable Machine site. 


 How to create your own model with Google Teachable machine?

There are 3 steps involved in training a model with the Teachable Machine. And you can get all these done within the browser. Even the training takes place in your local machine without relaying your data to any cloud server.

(1) Gathering samples - Using your webcam or microphone attached to your computer, take numerous samples for the Teachable machine to crunch.

(2) Training the model - Training on your browser is just as simple as hitting a button!!

(3) Testing the model - Once training is complete, you can exercise the new training model created using the camera/microphone attached to your computer.


What we are doing in this chapter:

I am not going to talk much about the inner workings of Machine learning. Instead, we will focus our discussion on using the training model (Tensorflow.js) generated from the Teachable machine to drive a practical tool which controls real-world objects using AI/ML(robot). 

In the next chapter, we will revisit our use of p5.js to create a UI front-end for our ongoing project & ml5.js will be embedded within the project granting p5.js the ability to access the pre-trained Tensorflow models generated by the Teachable Machine.

ml5.js:  ml5js.org   
 (Just for your info) Apart from object classification, ml5.js is also capable of object tracking with YOLO.  Reference: Object detector

 Todo:

  • Steps to create a Test Project on the TeachableMachine.

    Proceed over to the Teachable machine website: Teachable Machine
    - Choose a few objects from your household (Online class) as training objects.
    - Create a new TeachableMachine "Image Project".

    - Choose "Standard Image model" when prompted.

    - By default a new project would have 2 classes.
    Click on the "Webcam" button within the Class 1 rectangle.
    Allow Webcam access to the current page.
    Once the new popup window with the WebCam view finder presents itself. Click & hold the button "Hold to Record" while you place the desire object to be in front of the WebCam.

    - Move the object around in front of the webcam and capture it from different angles to improve the A.I. recognition accuracy. 
    Train the 2nd class when you are satisfy with the first.

    - Hit the "Train Model" button to the right of the classes.


    Test the model on the same page, flash the object used during training & verify the AI inference results.


  • Export the model as a Tensorflow training model:

    - Click on "Export Model" button.
    - Select "Tensorflow.js" and proceed with the "Upload" option.
    - We will be using the training model link for our p5.js integration with TeachableMachine in the next Chapter.